Essential Appliance Repair Tips for Homeowners
Troubleshooting 101: Basic Appliance Repair Tips

Dash Appliance Support
Welcome to our comprehensive Appliance Repair Tips page at Dash, where we offer invaluable guidance for maintaining and troubleshooting common household appliances. This resource is meticulously crafted to empower homeowners with practical advice and simple solutions for issues with refrigerators, washing machines, dryers, dishwashers, gas and electric ranges, and microwaves. Our expert tips are designed to help you diagnose and resolve minor problems swiftly, potentially saving you time and money on professional repairs. Whether you’re facing a malfunctioning oven or a noisy washer, our tips page is your go-to resource for easy, effective appliance care and self-repair strategies.
Refrigerator Troubleshooting Tips Before You Call for Help
Appliance Repair Tips – Refrigerator
1. Power Check: First things first, make sure your fridge is properly plugged in. Also, take a moment to check if your home’s circuit breaker hasn’t tripped. Also always make sure your appliance is plugged into a surge protector to protect the electronic components from a power surge https://amzn.to/48gN8MU
2. Temperature Settings: Have the settings been changed by accident? Ensure your fridge and freezer are set to the recommended temperatures.
3. Clean the Coils: Your fridge’s condenser coils can gather dust over time, affecting performance. You’ll find these coils at the back or the bottom of your fridge – a gentle cleaning might do the trick! Here is the brush we recommend https://amzn.to/3v9J2ra
4. Seal the Deal: The rubber seal around your fridge door keeps the cold in. If it’s loose or damaged, it’s time for a cleanup or a replacement.
5. Strange Noises?: If your fridge is making unusual sounds, it could point to a problem. Buzzing, clicking, or humming noises are not part of a fridge’s normal soundtrack.
6. Defrost if Needed: If your fridge isn’t frost-free, try defrosting it. This could clear up any ice buildup issues.
7. Unblock Vents: Make sure no food containers are blocking the vents inside your fridge. Good air flow is crucial for proper cooling.
8. Try a Power Reset: Unplug your fridge for a couple of minutes and then plug it back in. Sometimes, a simple reset can work wonders.
9. Bad Smell? Start with cleaning and give this a try https://amzn.to/3v9J2ra

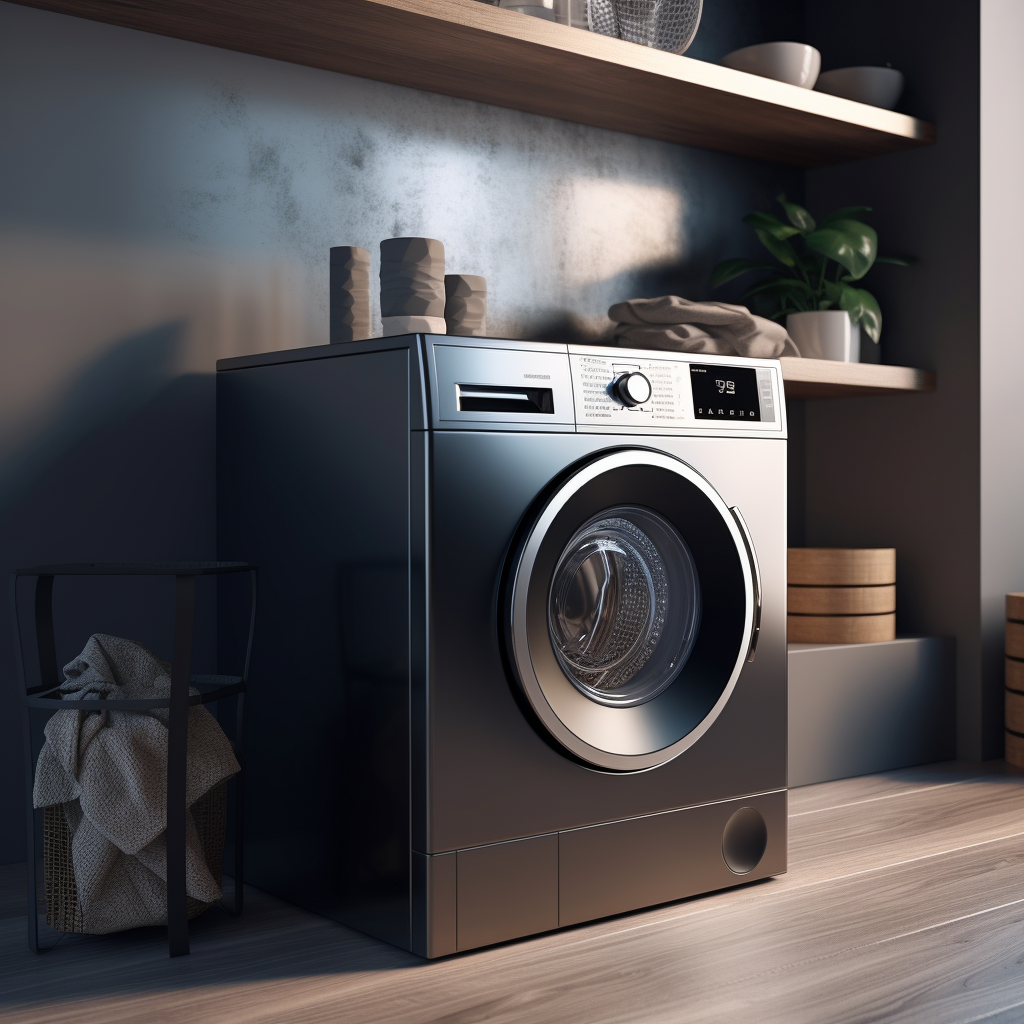
Washing Machine Troubleshooting Tips Before You Call for Help
Appliance Repair Tips – Washer Machine
1. Power Source Check: Ensure your washing machine is plugged in securely. Also, check your home’s circuit breaker or fuse box in case of a trip or blow.
2. Door and Lid Closure: Most machines won’t start unless the door or lid is securely closed. Double-check to make sure it’s properly latched.
3. Check the Settings: Sometimes settings get accidentally changed. Make sure the correct program and options are selected for your laundry load.
4. Balance the Load: An unbalanced load can cause the machine to malfunction. If the machine is vibrating excessively or stopping mid-cycle, try redistributing the clothes evenly.
5. Inspect Hoses and Filters: Clogged filters or kinked hoses can affect the machine’s performance. Check for any blockages or bends and clean or straighten as needed.
6. Water Supply Issues: Make sure both hot and cold water supplies are turned on and that there are no issues with your home’s water pressure. Also check to make sure you have steel braided hoses to protect your home from flooding https://amzn.to/48AjPEY
7. Drainage Problems: Check the drain hose for clogs or kinks. A blockage can prevent your machine from draining properly.
8. Clean the Detergent Dispenser: Over time, detergent residue can build up. Clean the dispenser to ensure it’s not contributing to any issues. Also help clean the inside with some washer magic https://amzn.to/3NKCPZ9
9. Perform a Power Reset: Unplug the machine for a minute and then plug it back in. This can reset the system and potentially resolve minor glitches.
Safety is key! If you’re not comfortable with any of these steps or if the issue continues, it’s time to call in the experts. Don’t risk further damage to your appliance or your safety.
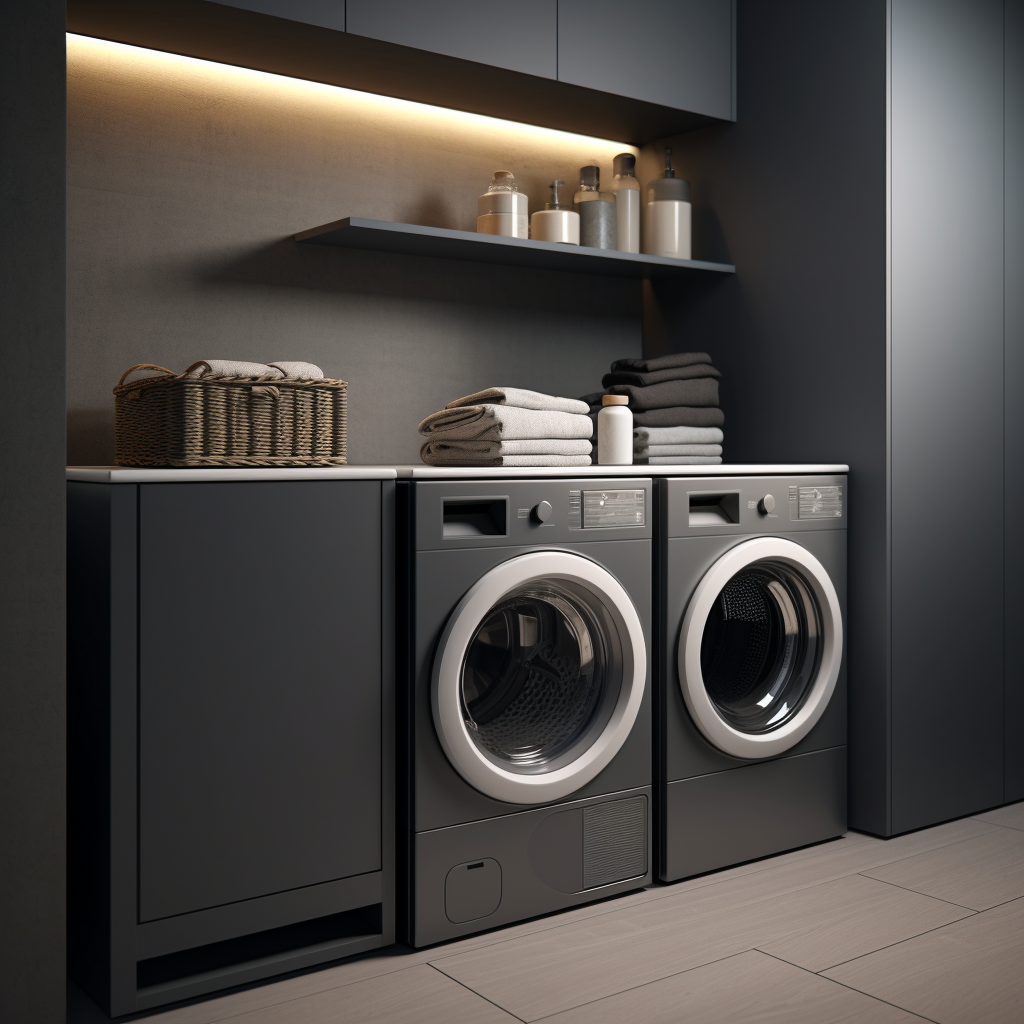
Dryer Troubleshooting Tips Before You Call for Help
Appliance Repair Tips – Dryer
1. Check the Power Connection: Make sure your dryer is firmly plugged in. Also, check your home’s circuit breaker or fuse box to see if a switch has flipped or a fuse has blown.
2. Ensure the Door is Properly Closed: Dryers won’t operate unless the door is securely shut. Double-check to make sure it’s latched correctly.
3. Inspect the Settings: It’s easy to accidentally change settings or set the timer incorrectly. Verify that you’ve selected the appropriate drying cycle and time for your load.
4. Clean the Lint Filter: A clogged lint filter can significantly reduce drying efficiency. Clean it out before every load for optimal performance.
5. Examine the Ventilation: Poor ventilation can cause drying issues. Check the external vent for any blockages and ensure it’s opening properly during operation. Changing your dryer exhaust vent can be helpful, here’s what we recommend https://amzn.to/3RW5Wv4
6. Check for Overloading: Overloading the dryer can lead to poor drying results. Make sure your load size is appropriate for your dryer’s capacity.
7. Reset the Dryer: Sometimes, all a machine needs is a reset. Unplug your dryer, wait a minute, and then plug it back in to see if that resolves the issue.
8. Look for Error Codes: If your dryer has a digital display and is showing error codes, take note of them. These codes can be very helpful in diagnosing the problem, whether you solve it yourself or need to call for help.
Dishwasher Troubleshooting Tips Before You Call for Help
Appliance Repair Tips – Dishwasher
1. Check the Power Connection: First, ensure your dishwasher is properly plugged in. Also, take a quick look at your home’s circuit breaker or fuse box to rule out a power issue.
2. Make Sure the Door is Fully Latched: Dishwashers won’t start if the door isn’t securely closed. Double-check to ensure it’s properly latched.
3. Review the Control Settings: It’s easy to accidentally change a setting or start the wrong cycle. Verify that you’ve selected the correct program for your dishes.
4. Clean the Spray Arms and Filters: Food particles and debris can clog the spray arms and filters, affecting cleaning performance. Regular cleaning can make a big difference. This is also a good product to help clean your dishwasher https://amzn.to/48hsfRU
5. Unblock the Drain: Check the dishwasher drain for any food remnants or obstructions that could prevent water from draining properly.
6. Load the Dishwasher Correctly: Incorrect loading can lead to poor cleaning results. Make sure dishes are not blocking the spray arms and are placed according to manufacturer guidelines.
7. Examine the Water Supply: Ensure that the dishwasher is getting an adequate water supply. Check for any kinks in the supply line and make sure the water valve is fully open.
8. Use the Right Detergent: Using too much detergent, the wrong type, or low-quality products can affect cleaning. Follow the manufacturer’s recommendations for the best results. Here is what our clients claim to have the best luck with https://amzn.to/3H01F3x
9. Try a Reset: Unplug the dishwasher for a minute and then plug it back in. This can sometimes reset the system and resolve minor glitches.
10. Look for Error Codes: If your dishwasher has a digital display and shows any error codes, note them down. They can be helpful for troubleshooting or when explaining the issue to a technician.
These are just appliance repair tips – if you’re uncomfortable with any of these repairs please consult a professional

Water Heater Troubleshooting Tips Before You Call for Help
Appliance Repair Tips – Water Heater
1. Check the Power Source: For electric heaters, ensure the unit is plugged in and check your home’s circuit breaker or fuse box. For gas heaters, make sure the gas supply is on and the pilot light is lit.
2. Inspect the Thermostat Settings: Make sure the temperature is set to a level that meets your needs. It’s typically recommended to set it between 120-140 degrees Fahrenheit.
3. Examine the Pressure Relief Valve: Carefully check the pressure relief valve for any signs of leakage or malfunction. Remember, safety is paramount, so proceed with caution.
4. Look for Water Leaks: Any signs of leaking around your water heater could indicate a problem. Look for wetness or corrosion around the tank and fittings.
5. Flush the Tank: Sediment buildup can affect the efficiency of your water heater. Flushing the tank annually can help maintain its performance. However, this should be done with caution and proper guidance.
6. Pilot Light Issues (for gas heaters): If the pilot light keeps going out, it might be a sign of a faulty thermocouple or a clogged pilot orifice.
7. Check the Heating Elements (for electric heaters): If you’re experienced in DIY repairs, you can check the heating elements with a multimeter. However, this involves working with electrical components and might be best left to professionals.
8. Listen for Strange Noises: Popping or rumbling noises from the tank could indicate sediment buildup or scaling on the heating elements.
9. Assess the Water Quality: Cloudy, rusty, or smelly water can be a sign of corrosion inside the tank or issues with the anode rod.
10. Observe Hot Water Availability: If hot water runs out too quickly or takes too long to recover, it might indicate a problem with the heating elements or burner.
These are just appliance repair tips, Remember, working with water heaters, especially gas ones, can be risky. If you’re unsure about any steps or if the issue persists, it’s best to call in a professional. Ensuring your safety and the proper functioning of your water heater is paramount.

Gas and Electric Range Troubleshooting Tips Before You Call for Help
Appliance Repair Tips – Gas Range:
1. Check Gas Supply: Ensure your gas supply is on. If other gas appliances are working, the issue might be specific to your range.
2. Inspect Burner Ignition: If the burners aren’t igniting, clean the burner cap and ensure it’s properly aligned. Also, check for clogged burner ports.
3. Pilot Light and Igniter Check: For ranges with a pilot light, ensure it’s lit. For electronic ignition systems, listen for the clicking sound when you turn the knob.
4. Oven Heating Issues: If the oven isn’t heating up, check the igniter or the thermostat settings.
5. Clean Regularly: Keep your range clean from food spills and grease, as buildup can affect performance.
Electric Range:
1. Power Connection: Ensure the range is plugged in and check your home’s circuit breaker or fuse box.
2. Check the Heating Elements: If the burners aren’t heating, ensure they are firmly seated in their connections. Replace any visibly damaged elements.
3. Oven Temperature Issues: Verify the oven’s thermostat settings. If the oven isn’t heating correctly, the heating element or thermostat might need attention.
4. Keep It Clean: Regular cleaning is essential for efficient operation and can help prevent issues.
Common for Both:
5. Check the Control Knobs: Sometimes the issue is as simple as a knob that’s not set correctly or is broken.
6. Door Issues: If the oven door doesn’t close properly, it can affect the oven’s ability to maintain the right temperature.
7. Timer and Clock Settings: Incorrect settings can disrupt cooking times and oven operation.
8. Look for Error Codes: Modern ranges often display error codes that can help identify specific issues.
Safety Note: These are just appliance repair tips, If you’re unsure about any steps or if the problem persists, it’s wise to call in a professional. Handling gas appliances or electrical components can be dangerous without proper knowledge.

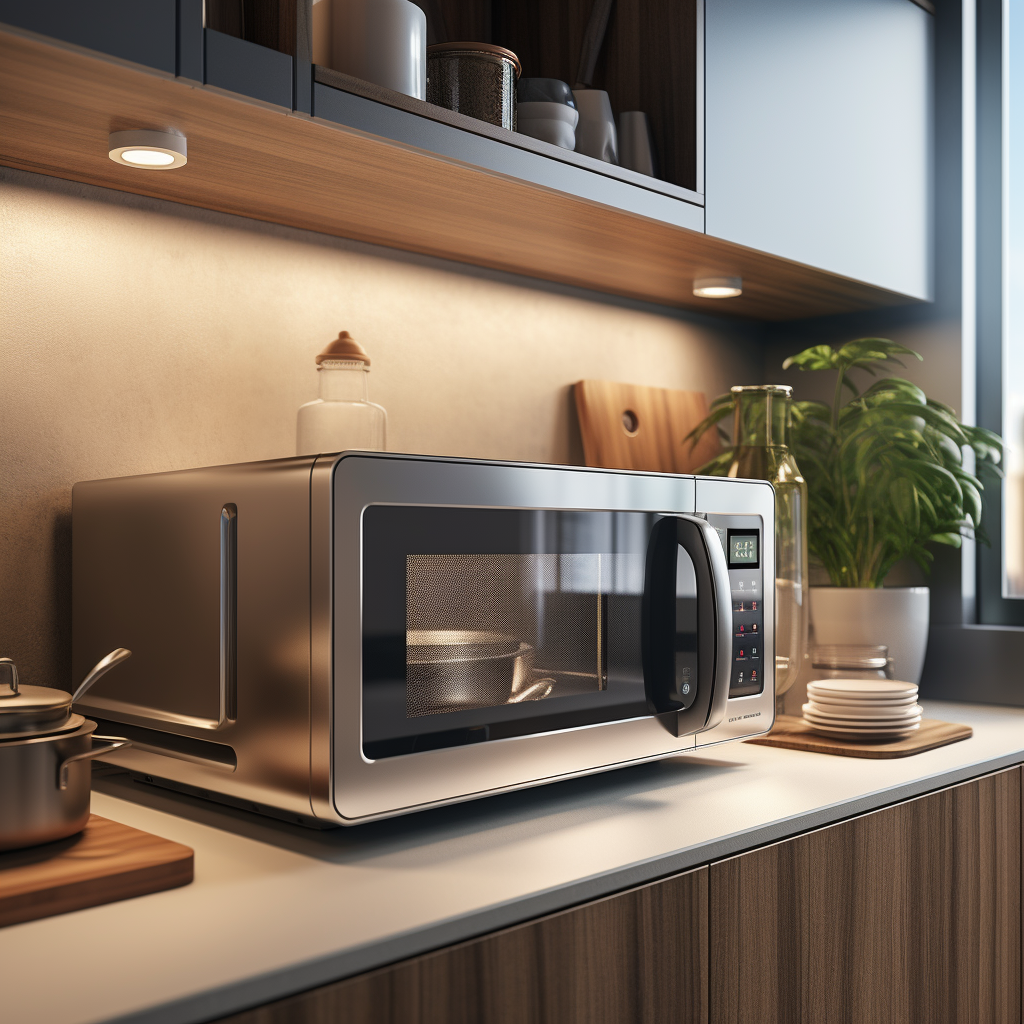
Microwave Troubleshooting Tips Before You Call for Help
Appliance Repair Tips – Microwave
1. Check the Power Source: Ensure your microwave is plugged in and the circuit breaker hasn’t tripped.
2. Examine the Door Latch: A faulty door latch can prevent the microwave from starting. Ensure it’s closing properly.
3. Turntable Functionality: If the turntable isn’t rotating, clean the track and check for obstructions.
4. Clean the Interior: Food splatters and grease can interfere with the microwave’s operation. Regular cleaning can improve performance.
5. Check the Settings: Misconfigured settings can lead to unsatisfactory cooking results. Verify you’re using the correct program and power level.
6. Inspect the Ventilation: Proper ventilation is crucial for a microwave. Ensure the vents are not blocked.
7. Listen for Unusual Noises: Unusual sounds can indicate a problem with the motor or the magnetron.
8. Reset the Microwave: Unplug it for a minute and then plug it back in to reset the system.
9. Observe for Error Codes: If your microwave displays error codes, note them as they can be useful for troubleshooting.
Safety Tip: These are just appliance repair tips, If the issue involves electrical components or if you’re not comfortable with the troubleshooting steps, it’s best to seek professional help. Microwaves can store a high-voltage charge even when unplugged.